3D Printing Recommendation: Plasti-Dip Spray Rubberized Coating
I’ve now completed several 3D printing projects which need to sit more-or-less still on a desktop or other work surface. I’ve seen a few different approaches to this, but I wanted to note that I’ve had good luck so far with clear Plasti-Dip rubberized coating spray.
I’ll use masking tape to mask off the sides of a project, and then apply this spray to the bottom surface of the project. I’ll typically apply 4-6 coats, following the directions on the spray can, waiting for at least one hour between coats.
The result is a consistent, slightly-tacky, rubberized surface which doesn’t slide across my desk too easily.
I’ve done this so far with the following projects…
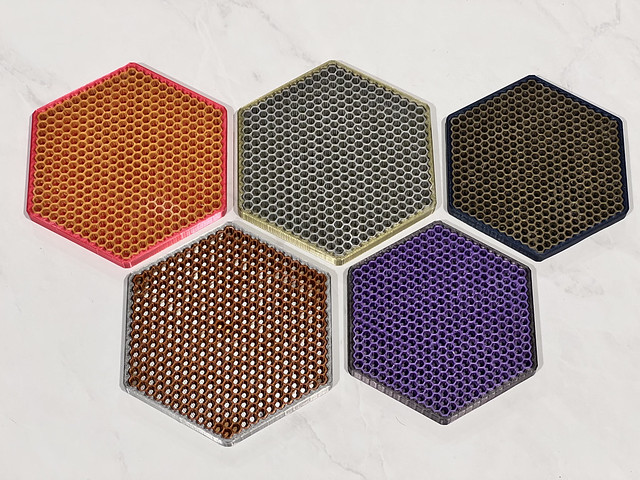
Coasters
This was the first project I treated with this spray:
Soldering Iron Stand (& Friends)
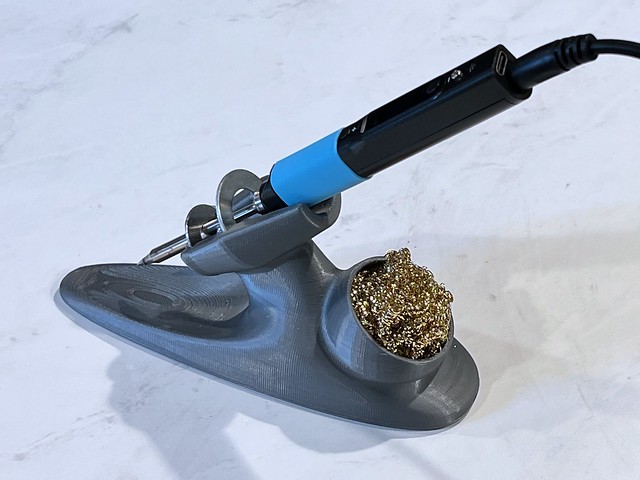
I just finished this one: this soldering iron stand for the TS100, Pinecil, and similar irons was treated with rubberizing spray. I also filled the stand with cement to add some weight. Between that and the rubber spray, it doesn’t slide around unless I want it to:
I plan to write another short blog post about putting together my new Pinecil-oriented soldering setup. Lots of fun 3D-printed stuff there 🙂
Weather Widget
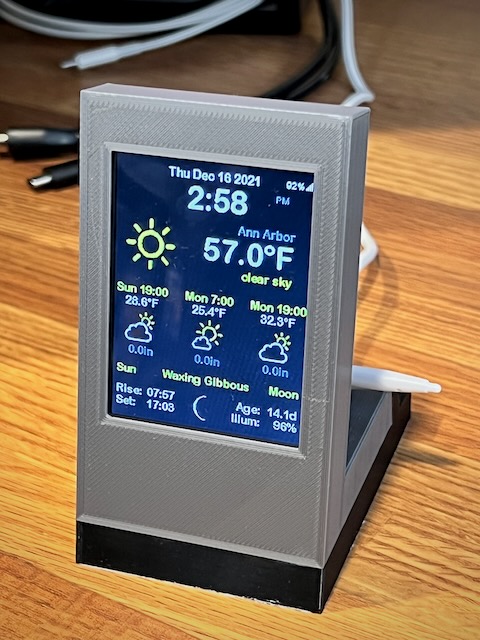
This is another project that I have yet to blog about: an ESP8266-based desktop weather display widget:

The build was fun and easy, but I added a “pedestal” to the bottom of the enclosure, which aids in stability when using the touch screen. I treated the bottom with rubberizing spray, and I also partially filled it with concrete, both of which help give the widget a more solid feeling on my desk.


